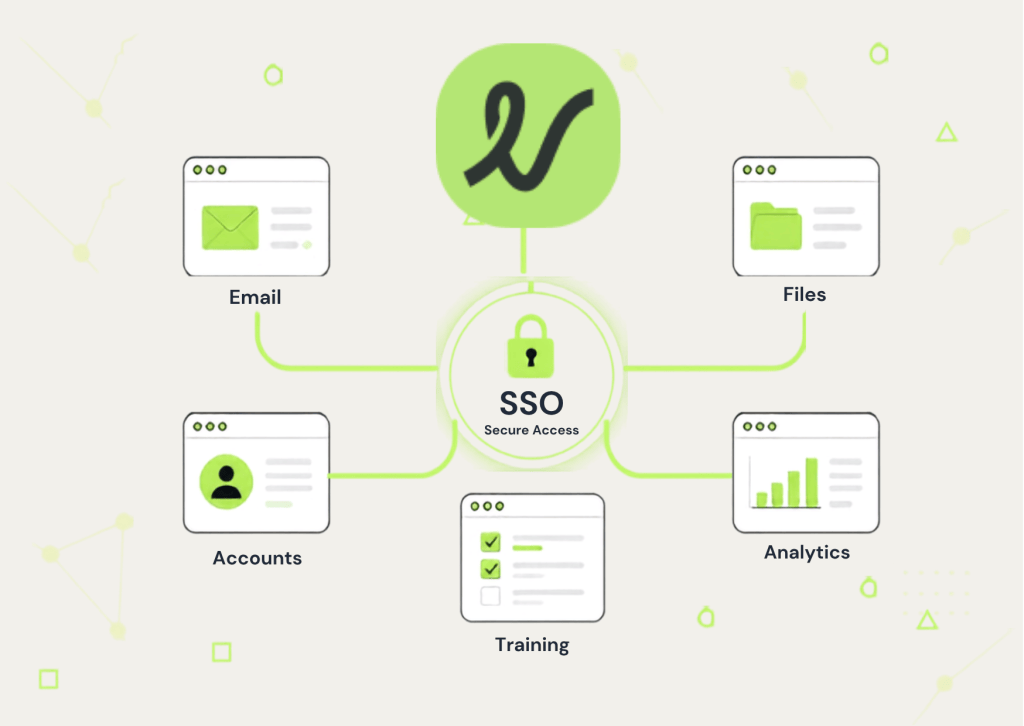
Want to make signing into Varsi simpler for your team? Single Sign-On (SSO) lets your organization connect Varsi to your existing identity provider, giving learners a more convenient way to access their accounts.
Setting it up only takes a few steps. Before you begin, make sure you have Admin or Super Admin access, as SSO settings are only available to these roles.
Here’s how to get started.
Step 1: Open Your Account Settings
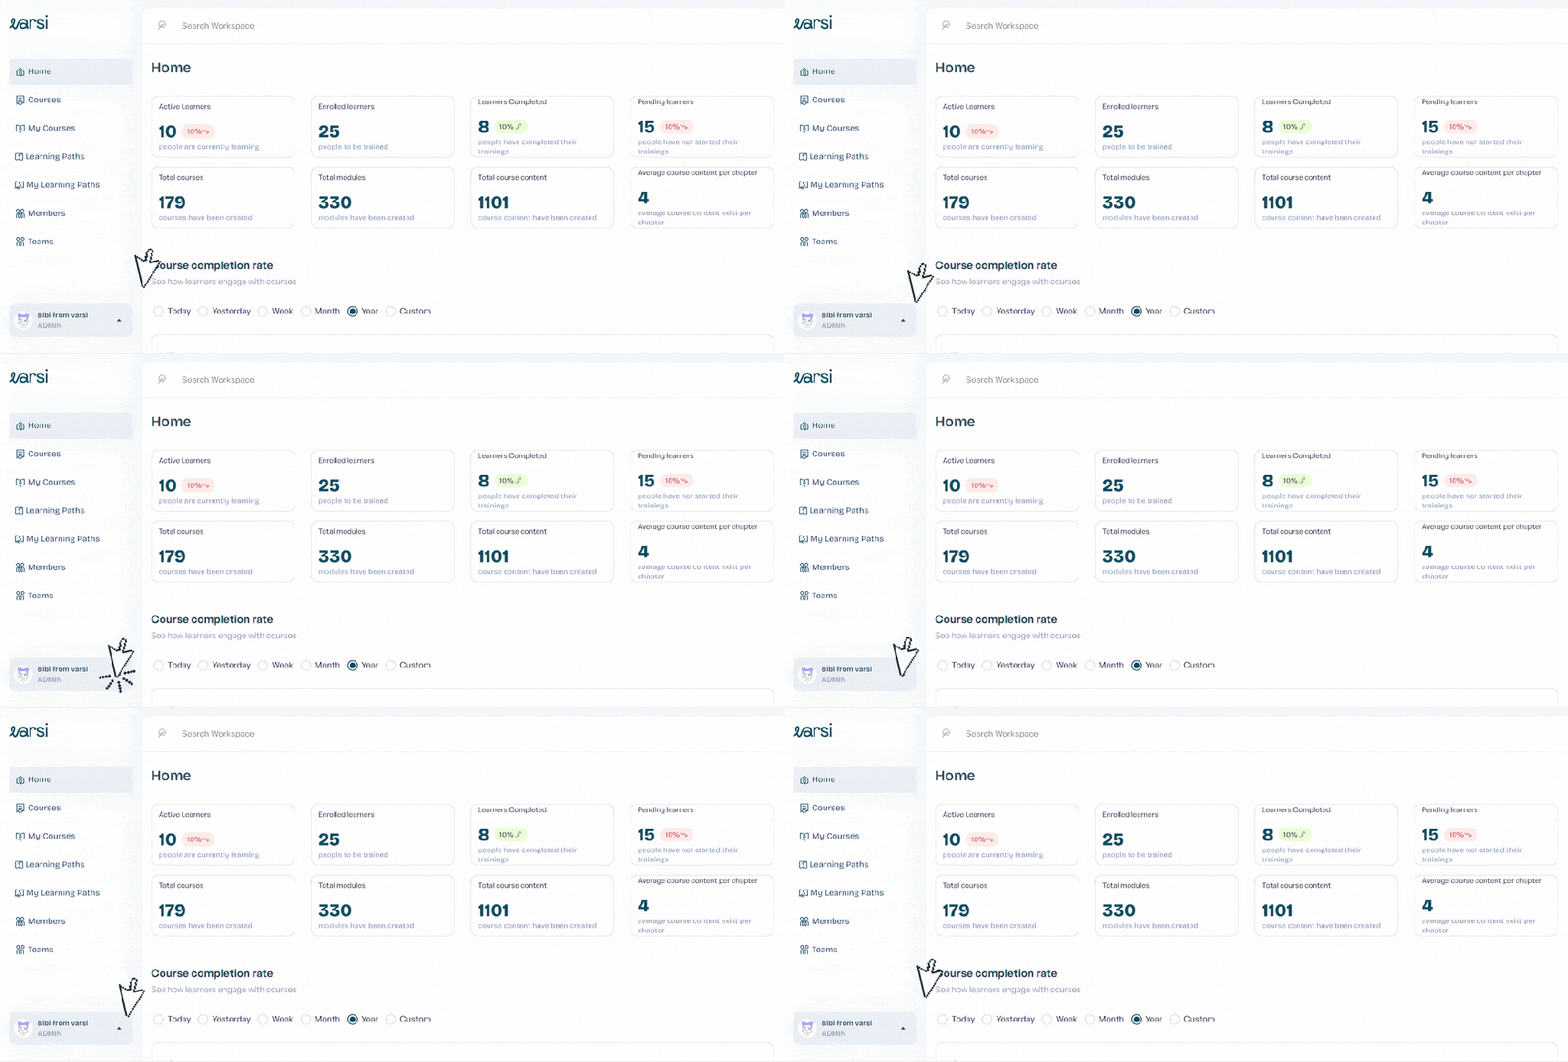
From your Varsi dashboard, look for the rectangular profile icon at the bottom-left corner of the page. It displays your avatar and name.
Click the small upward-pointing arrow on the profile icon to open the account menu.
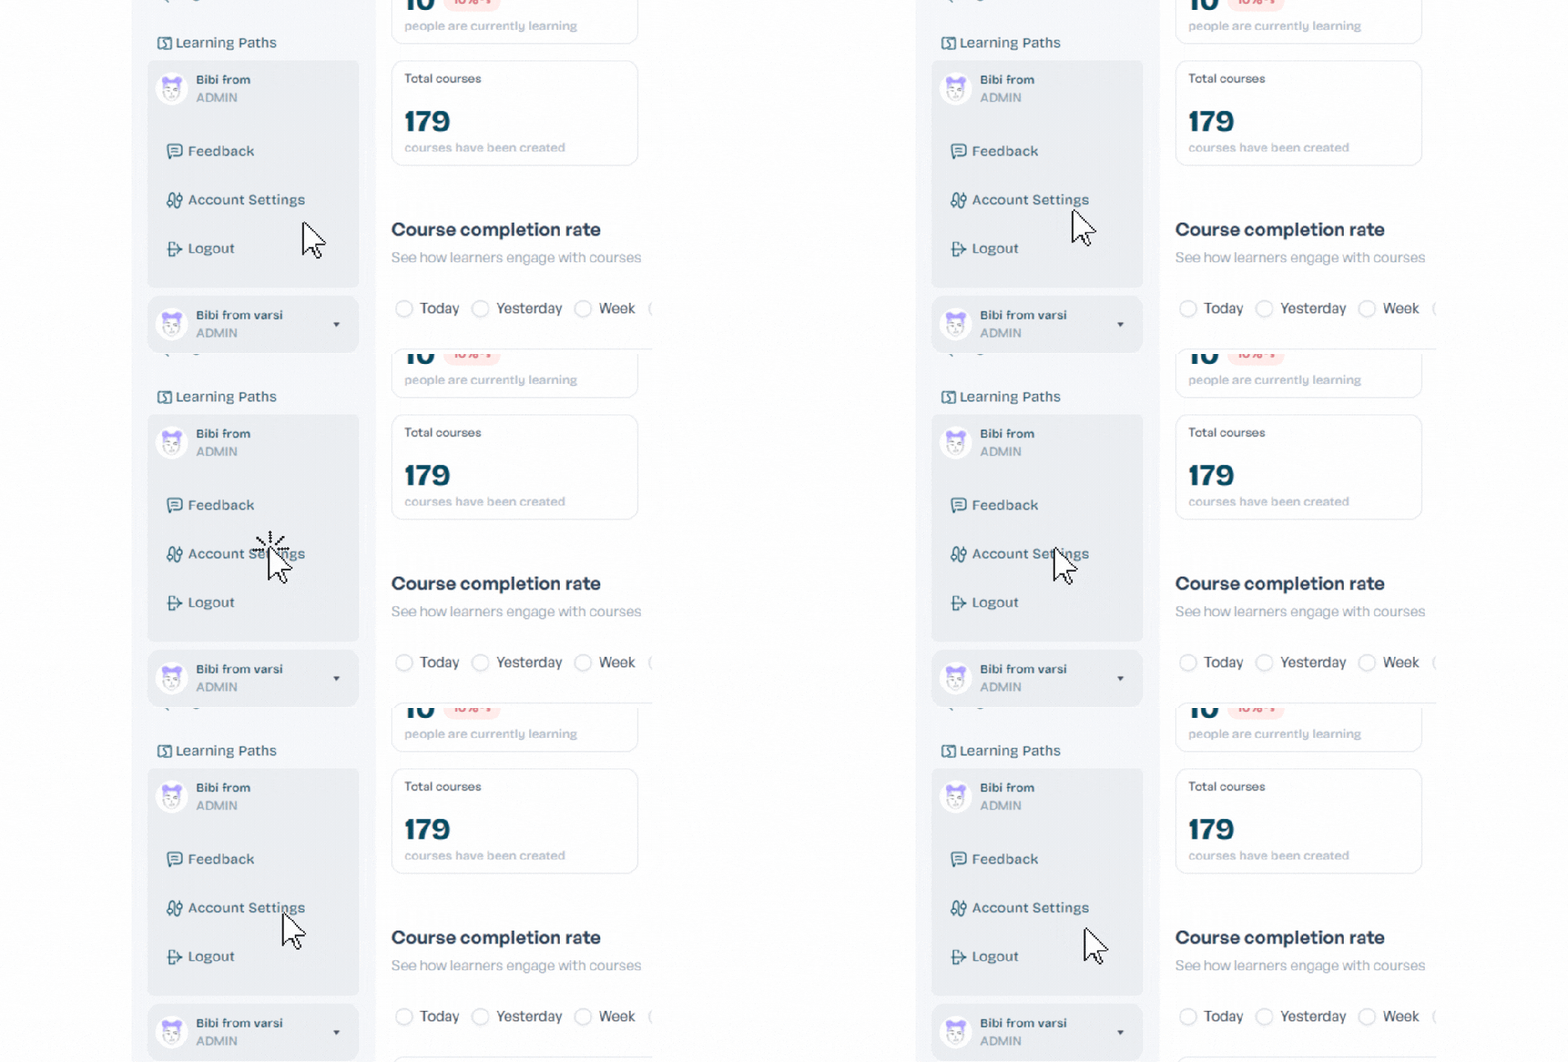
You’ll see three options:
- Feedback
- Account Settings
- Log Out
Select Account Settings.
Step 2: Go to Your Organization Settings
Your Account Settings page is where you can manage both your personal information and your organization’s settings.
You’ll land on the Personal section first, where you can view and update information such as your name and email address.
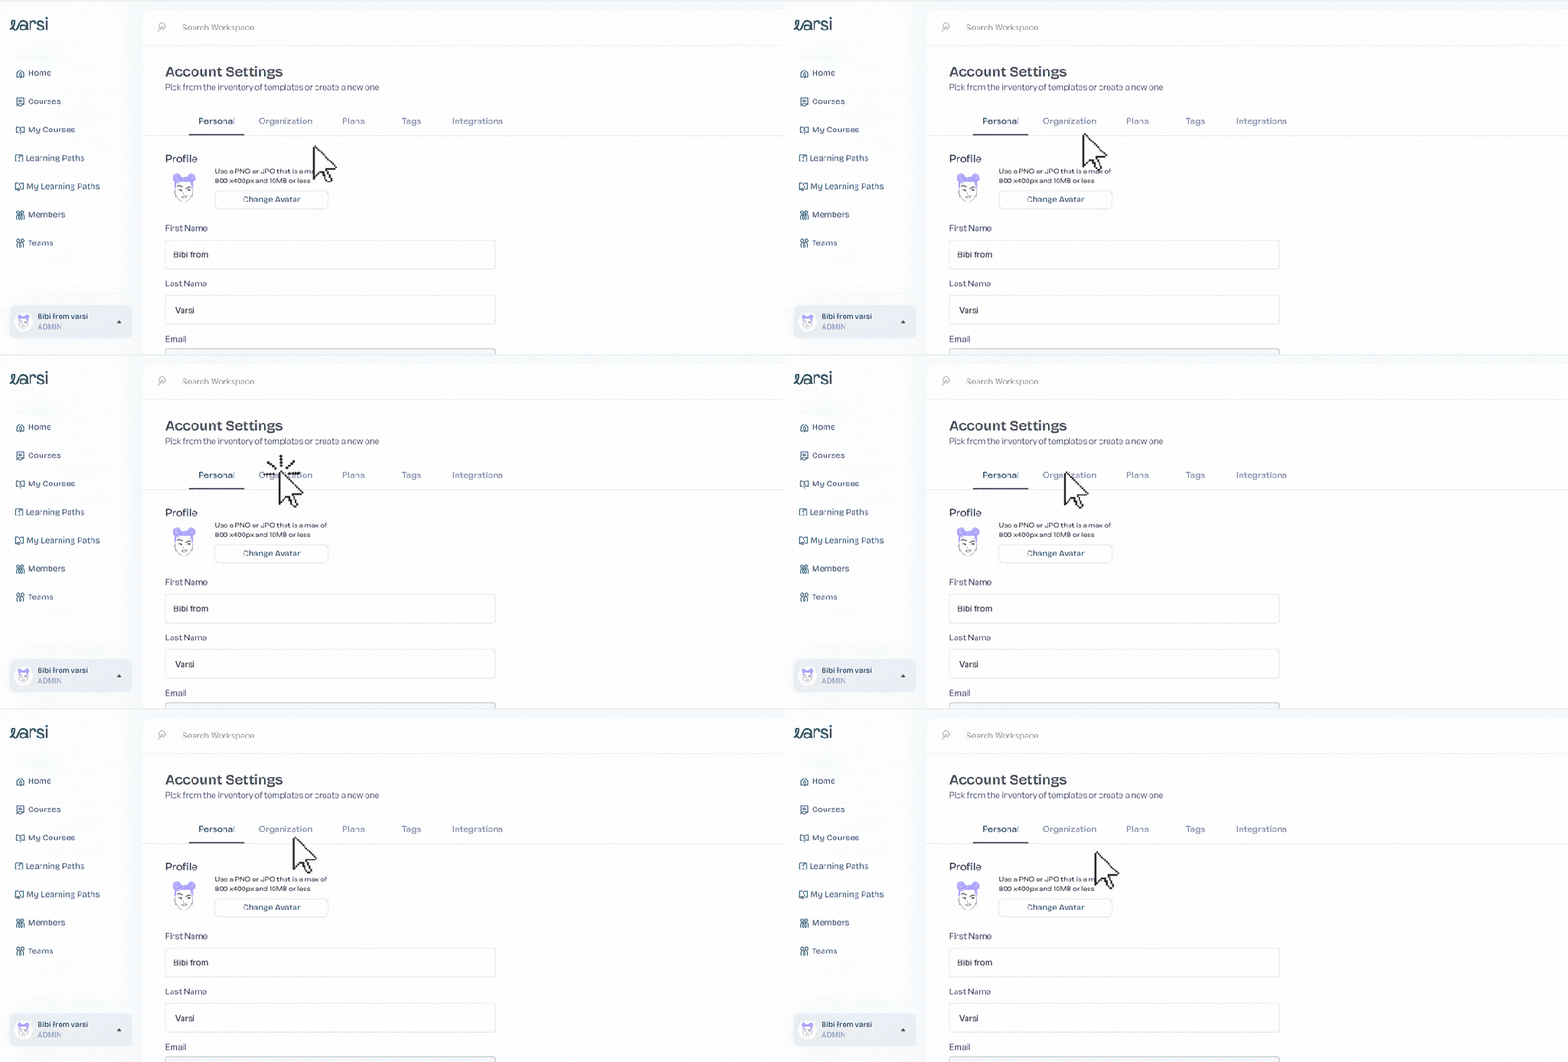
At the top of the page, you’ll also find Organization, Plans, Tags, and Integration.
Click Organization to continue.
Step 3: Find the SSO Setup
The Organization page opens with your Basic Information section. Here, you can manage details about your Varsi workspace, including your:
- Workspace name
- Workspace URL
- Address
- Admin email
- Phone number
- Website
Scroll down the page until you find SSO Setup.
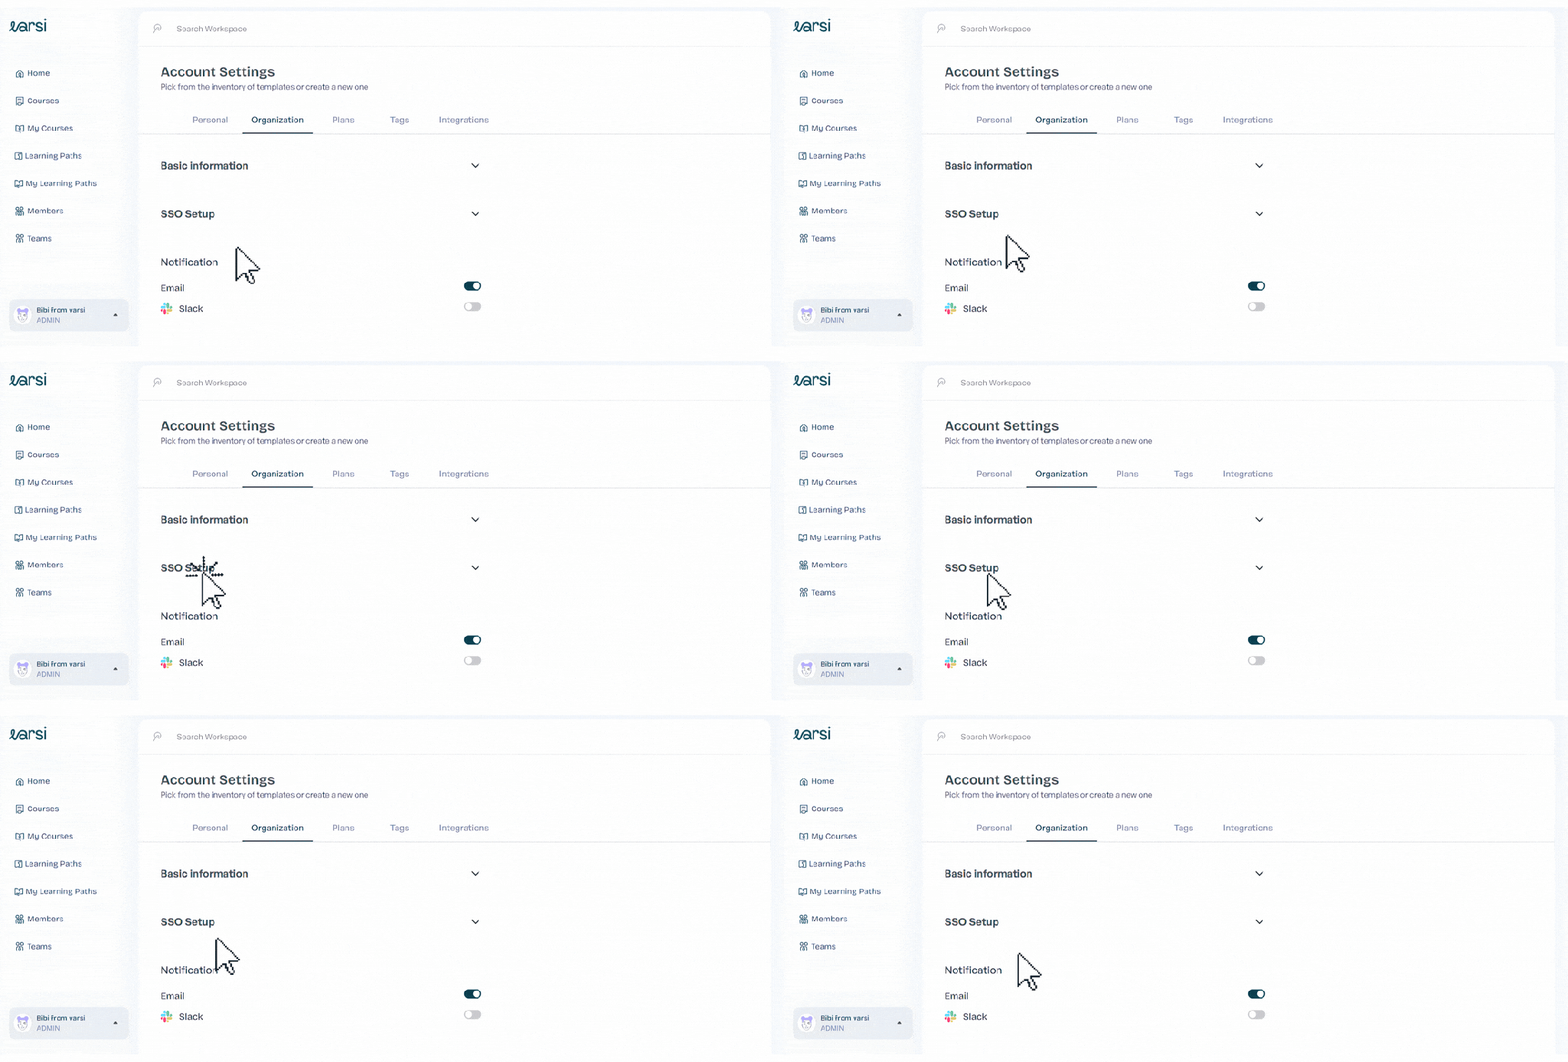
Click it to begin configuring Single Sign-On for your organization.
Step 4: Enter Your SSO Details
In the SSO Setup section, you’ll be asked to provide three pieces of information from your identity provider:
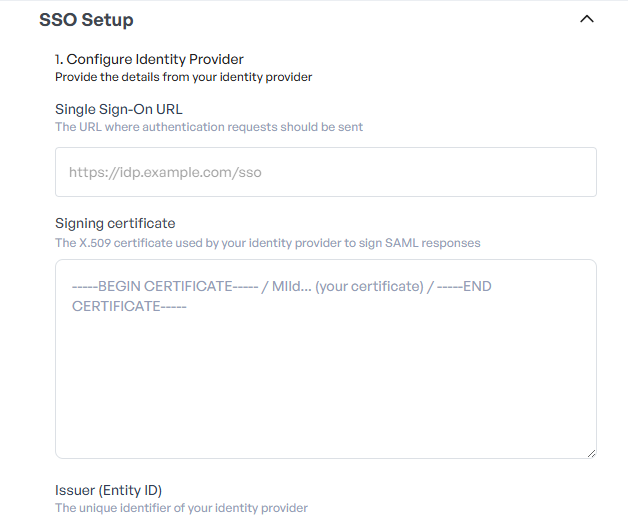
Single Sign-On URL
Enter the SSO URL provided by your identity provider. This is the endpoint Varsi will use during the sign-in process.
Signing Certificate
Add the signing certificate supplied by your identity provider. This allows Varsi to verify that authentication responses are coming from the correct source.
Issuer (Entity ID)
Enter your identity provider’s Issuer or Entity ID. This identifies the system responsible for authenticating your users.
Make sure the information you enter matches the configuration provided by your identity provider.
Step 5: Complete Your SSO Setup
Once you’ve entered the required SSO information, review the details to make sure everything is correct and complete the setup.
Your organization’s SSO configuration is now ready, giving your team a simpler way to access Varsi using your organization’s existing authentication system.
Quick note: SSO settings can only be accessed and configured by Admins and Super Admins. If you don’t see the Organization or SSO Setup options described in this guide, check that your Varsi account has the required permissions.
 blog.tryvarsi.com
Leave a comment