
Teams make managing learners a whole lot easier.
Whether you’re grouping people by department, role, location, or just keeping things a little more organised, creating a team in Varsi takes just a few clicks.
Here’s how to set one up and get your learners where they need to be.
Step 1: Open the Teams page
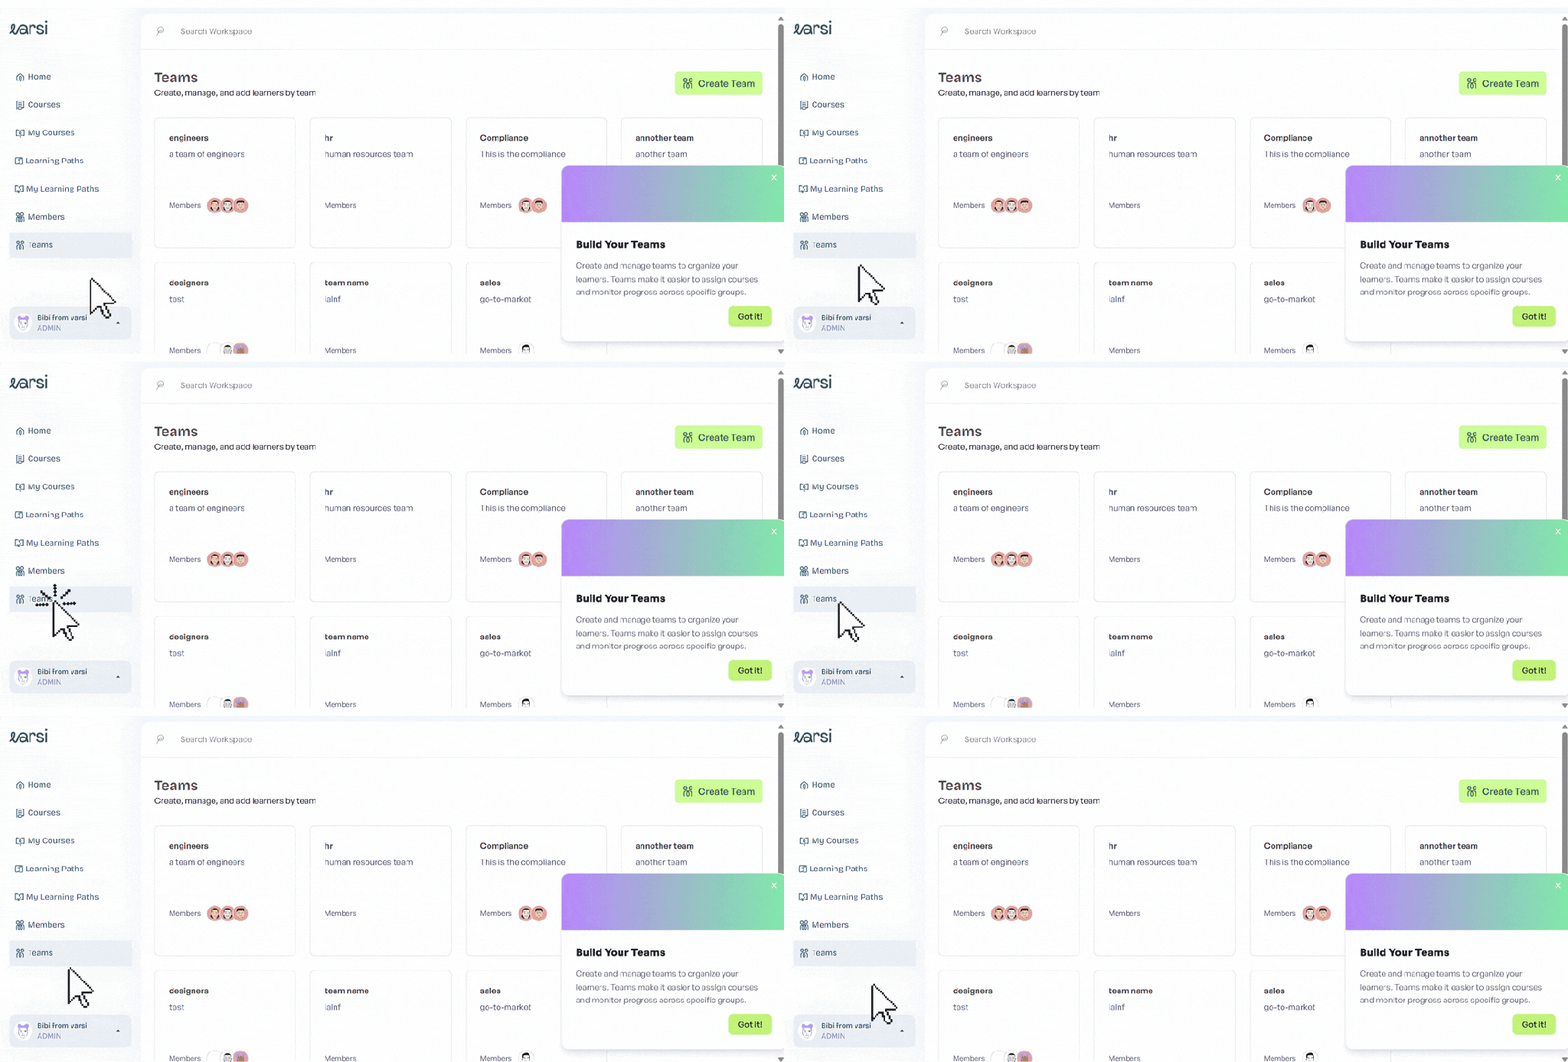
From your Varsi dashboard, head to the side menu. You’ll see options including Home, My Courses, Learning Paths, My Learning Path, Members, and Teams.
Click Teams to open the Teams page.
Step 2: Create a New Team
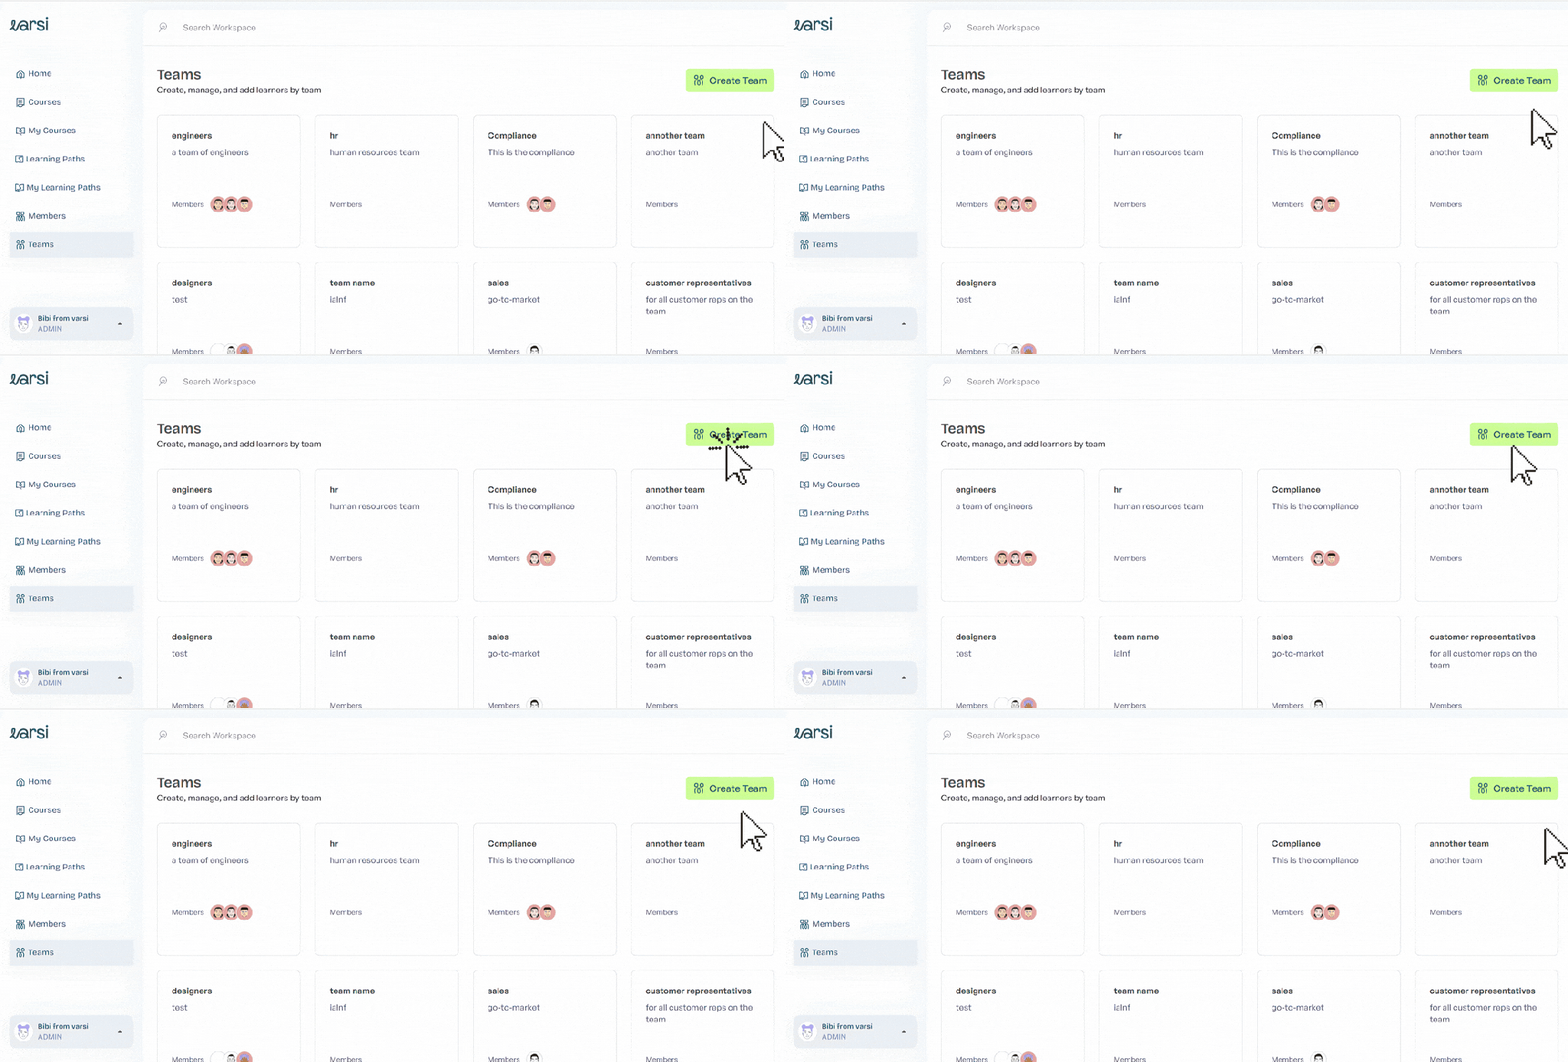
Once you’re on the Teams page, look to the right-hand side of the screen and click on the Create Team button.
A form will pop up asking you to enter two details:
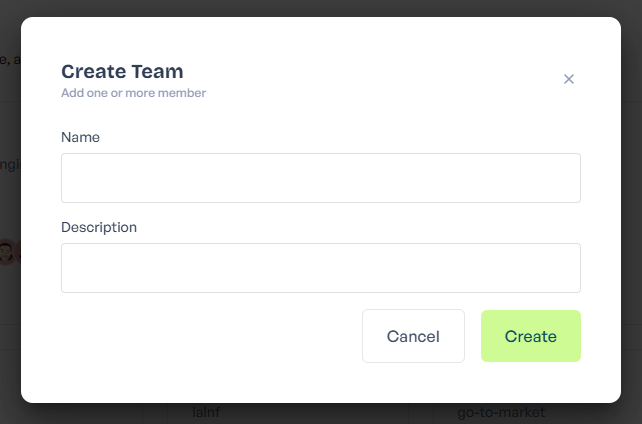
- Team Name: Give your team a clear, easily identifiable name.
- Description: Add a short description of the team, its purpose, or who it’s for.
Once you’ve filled those in, click the ‘Create’ button, and it will be saved to your dashboard.
Step 3: Open Your Team
Once your team is created, it will appear on the Teams page with the name and description you entered during setup.
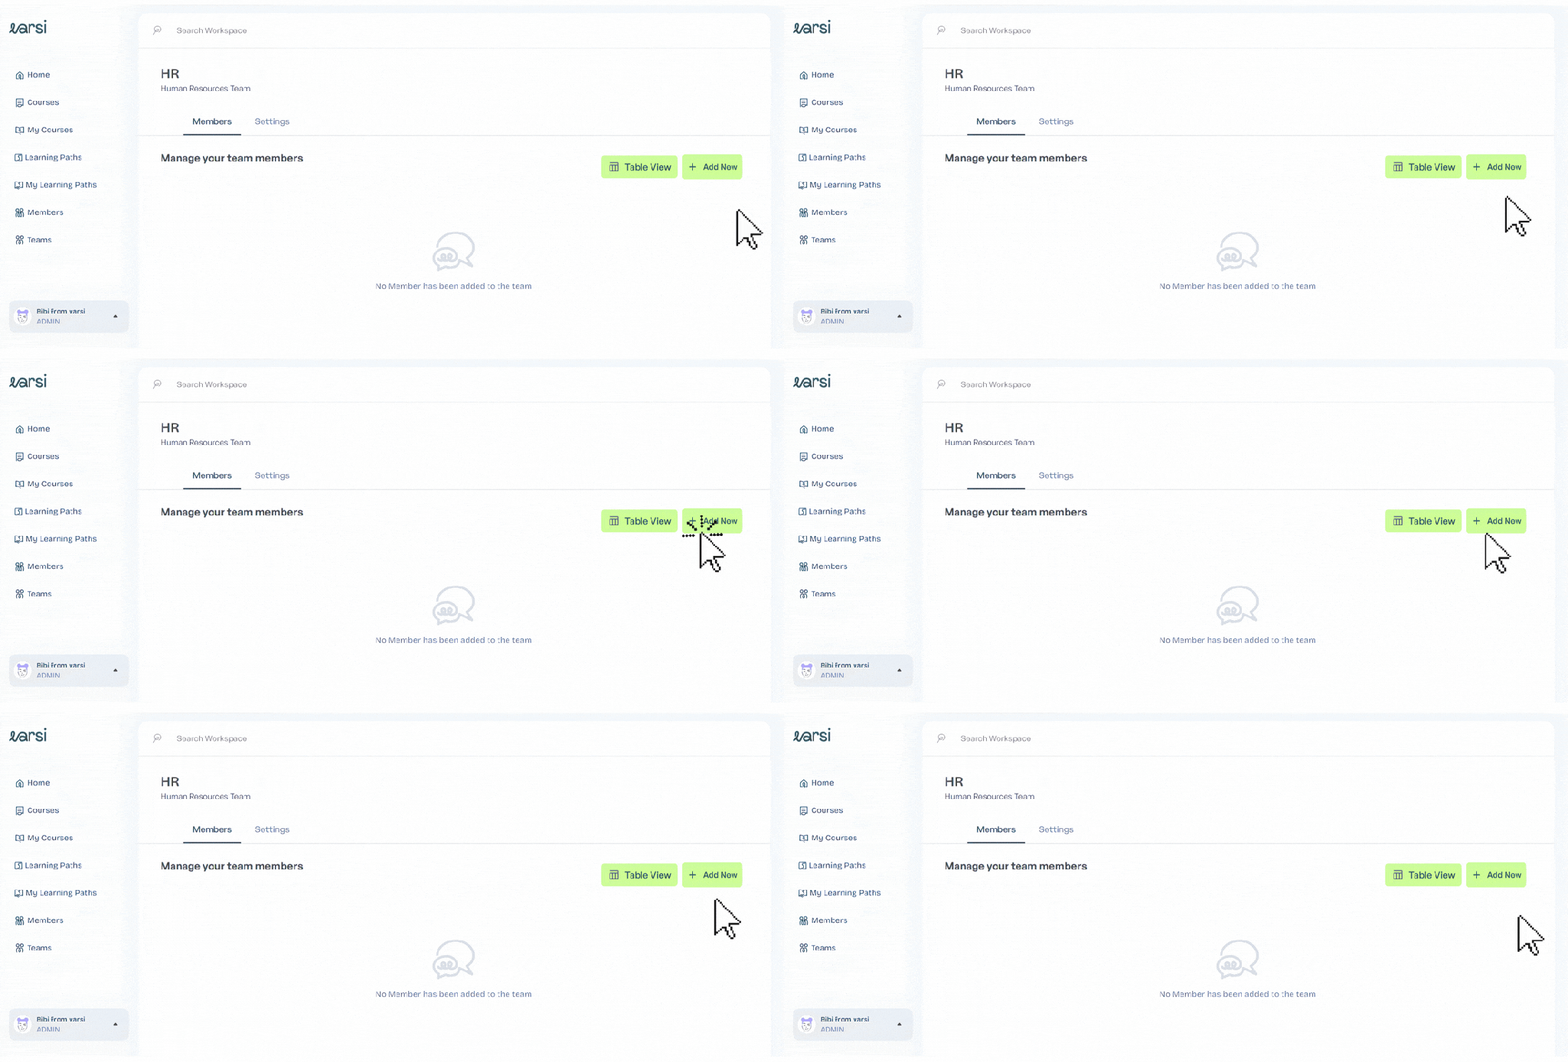
For instance, if you named your team “HR” and added “Human Resources Team” as the description, it’ll appear on the page like this:

Click on the team you just created to open it. From there, click the Add New button to add members to your team.
Step 4: Select Your Team Members
After clicking Add New, an Add Member window will pop up. This is where you choose who you want to add to your team.
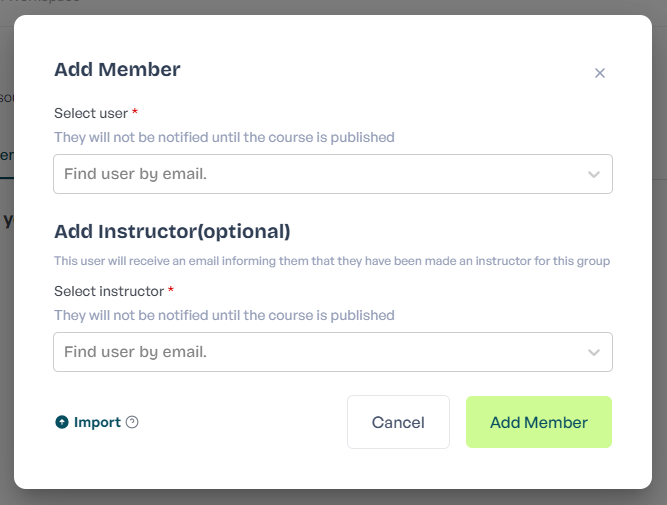
Under Select user, click the Find user by email field and search for the member you want to add using their email address. Select the correct user from the options that appear.
You’ll also see an Add Instructor (optional) section. If you want someone to serve as an instructor for the team, use the Select instructor field to find and select them by email. If your team doesn’t need an instructor, you can simply leave this section blank.
Once you’ve made your selections, click the green Add Member button to finish adding the member to your team.
Need to add several people? Instead of adding them one at a time, use the Import option at the bottom left of the window to add members in bulk.
And just like that, you’ve got a team up, running, and ready to learn.
 blog.tryvarsi.com
Leave a comment